Wooden Bloom Box DIY: 3D Wooden Puzzle Decor Guide
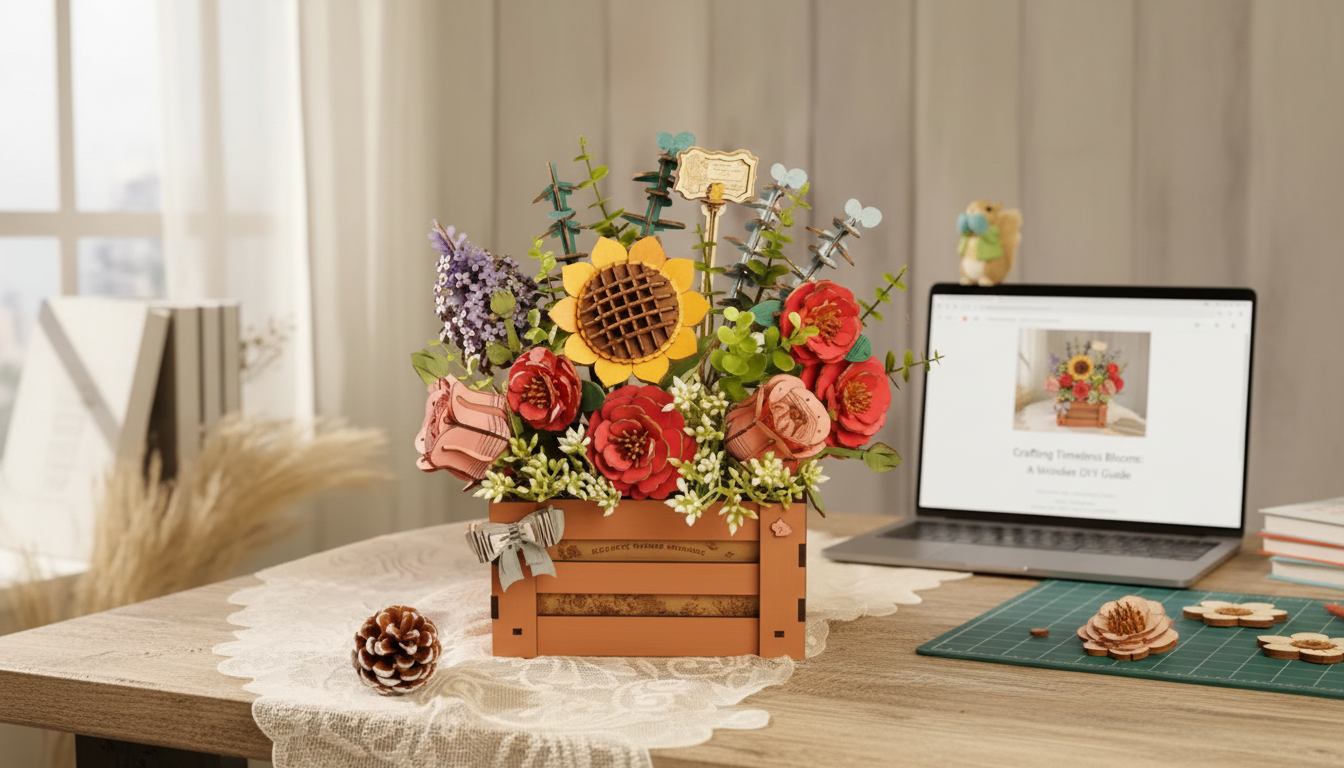
Wooden Bloom Box DIY 3D Wooden Puzzle for Home Decor & Gifts
A buildable wooden bloom box combines the satisfaction of a hands-on project with a finished piece that looks right at home on a shelf, desk, or entryway table. The best part is that it doesn’t feel like “craft clutter”—once assembled, it reads as intentional décor: warm wood tones, crisp edges, and a charming floral-inspired silhouette.
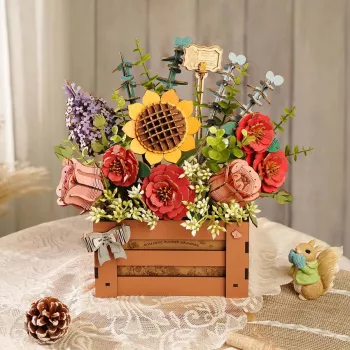
If you’re choosing a kit for yourself or someone else, the Wooden Bloom Box DIY 3D Wooden Puzzle for Home Decor & Gifts is designed to deliver both the build experience and the display-worthy finish. Below is what makes this style of model special, what to have ready, and how to keep the final piece looking great over time.
What Makes a Wooden Bloom Box Special
A wooden bloom box kit stands out because it gives you a relaxing project and a decorative result—no extra shopping or framing required. It’s the kind of build you can enjoy slowly, then proudly leave out year-round.
- Creative build + décor payoff: you’re not just assembling a puzzle; you’re crafting a display piece with depth and texture.
- Screen-free reset: a calm, focused activity that suits teens and adults alike—especially on quiet evenings or weekends.
- Style-flexible finish: the natural wood look can work with modern, cottage, minimalist, or eclectic spaces depending on how you style around it.
- Gift-friendly: it’s both an experience (the build) and a keepsake (the finished bloom box), which feels more personal than many ready-made gifts.
For general guidance on age-appropriateness and safe use of small parts in hobby kits, it helps to review basic consumer safety recommendations like the U.S. Consumer Product Safety Commission (CPSC) toy safety resources.
What’s Included and What to Have Ready
Most 3D wooden décor puzzles are made with pre-cut pieces that interlock using tabs and slots. That means you can often assemble with minimal tools—your setup matters more than your toolkit.
- Pre-cut wooden parts designed to interlock during assembly
- Illustrated instructions that guide the build step by step
- A clear workspace, good lighting, and a small tray for keeping pieces organized
- Optional helpers: craft knife for gentle cleanup, fine sandpaper, wood glue (only if desired), and small clamps or clips
Quick Build Prep Checklist
| Item | Why it helps |
|---|---|
| Flat work surface | Keeps parts aligned and prevents warping during assembly |
| Good lighting | Makes small tabs, slots, and decorative details easier to see |
| Tweezers (optional) | Helps place smaller pieces cleanly |
| Fine sandpaper (optional) | Smooths tight-fitting tabs or rough edges |
| Wood glue (optional) | Adds extra hold on stress points if preferred |
Assembly Experience: Time, Difficulty, and Tips
The best builds feel paced—not rushed. A bloom box model tends to be more about precision and patience than brute force, with smaller decorative pieces that reward careful handling.
- Start by sorting: laying out pieces (or grouping by shape) reduces mid-build confusion and prevents accidental bending or snapping.
- Test-fit first: align tabs and slots gently before committing; if you choose to use glue, testing first helps avoid locked-in misalignment.
- Sand—don’t force: if a tab feels too tight, lightly sand the edge rather than pushing hard (tight pressure can stress thin sections).
- Build in short sessions: 20–40 minute sessions keep hands fresh and reduce mistakes, especially during detailed steps.
- Use even pressure: press from supportive areas, not delicate details, to keep pieces clean and intact.
If you’re sensitive to odors and plan to use any adhesives or finishes, it’s smart to stick to well-ventilated areas and review indoor air basics like the U.S. EPA overview on VOCs.
How to Style the Finished Bloom Box
Once assembled, the bloom box earns its keep as a small décor anchor—something that adds warmth without taking over the room. The key is to give it a little “breathing space” so the layers and cutouts stay visually crisp.
Gifting Ideas That Feel Personal
Care, Cleaning, and Display Longevity
If sustainability is part of your buying criteria, learning how certification marks work can be helpful; the Forest Stewardship Council (FSC) label guide explains common wood sourcing labels and what they indicate.
Comparison: Another Buildable Decor Option
Two DIY Wooden Décor Builds at a Glance
| Model | Best for | Standout feature | Link |
|---|---|---|---|
| Wooden Bloom Box DIY 3D Wooden Puzzle for Home Decor & Gifts | Shelf or desk décor, gifting, relaxing craft time | Decorative bloom-box look with a handmade finish | View product |
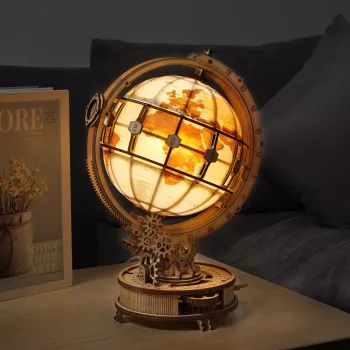
| Luminous Wooden LED Light Globe 3D Puzzle Model Kit | Nightstand/desk ambiance, statement décor | Globe form with integrated lighting effect | View product |
For a coordinated set, consider building the Wooden Bloom Box DIY 3D Wooden Puzzle for Home Decor & Gifts as the daytime shelf accent, then placing the Luminous Wooden LED Light Globe 3D Puzzle Model Kit nearby for a softer evening look.
FAQ
Is wood glue required to assemble the bloom box?
Wood glue is often optional because many kits are designed for snug tab-and-slot assembly. If you prefer extra reinforcement, use glue sparingly on stress points after test-fitting the parts first.
How long does it usually take to complete a 3D wooden puzzle like this?
Most builders finish in a few hours to an afternoon, depending on experience level and how detailed the model is. Sorting pieces first and assembling in short sessions can make the process smoother and more enjoyable.
What’s the best way to keep the finished piece looking new?
Dust it gently with a soft brush or microfiber cloth, and keep it away from high humidity or direct sunlight. If you used glue, let it fully cure before handling or moving the finished bloom box.








Leave a comment